
 Slatwall panels have revolutionized the way we store and display items of every size and shape imaginable. For a small investment, you can make organizing your home, garage, or business a cinch! One of the best features of slat wall panels is the fact that installation does not require the help of an expert. If you are handy, have a few common tools, and have a friend who is willing to help, then you will probably be able to tackle this project without paying a contractor. While the slatwall panels you select will have their own instructions for installation, most types follow similar steps. Here are the three easy steps that you should be aware of before you begin.
1- Safety First on Installing Slatwall
You will need at least one partner to help you along when handling and installing your slatwall panels because they are heavy. Do not slide them; they will scratch! Lift each panel carefully. Extra hands will definitely be needed to move the panels and hold them up when they are being affixed to the wall. Don’t risk injuring your back by doing this project alone. Everyone should wear gloves when handling the slat wall panels and safety glasses when using the required power tools. Remember also to follow the safety guidelines for your tools as recommended by their manufacturers.
2- Tools List
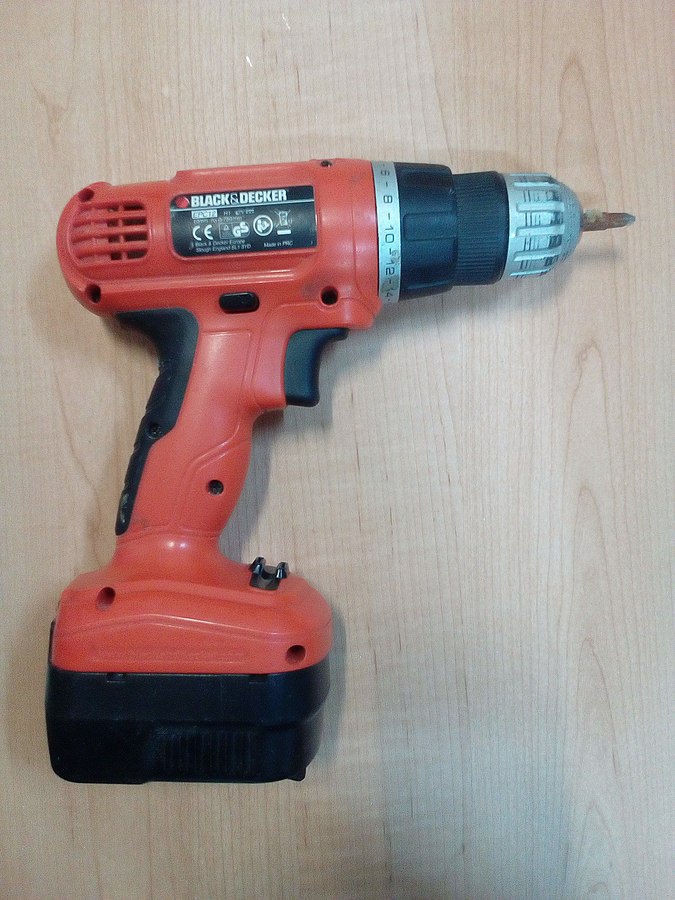 The slatwall panels you purchase will most likely come with the hardware you need, including bits you need for the screws. You should use a stud finder and a level. You will need a power drill and a screw gun. You may need either a jigsaw, circular saw, or a table saw if you must cut a panel down to size. Some panels come with aluminum inserts in the channels and grooves of the slat wall. These allow the slatwall to bear more weight, but if you have this kind and need to trim the panels, then your sawblade will require a carbide tip. No matter what kind of saw blade you need, use a fine-tooth blade to get a clean cut through the slatwall panel.
3- How to Install Retail Slat Wall
Allow the panels to acclimate to the temperature of the room before you try trimming them or screwing through them. You don’t want panels to split because they are too cold to work with. Slatwall panels can be attached to finished or unfinished surfaces. Some people choose to attach the panels directly to the bare studs.
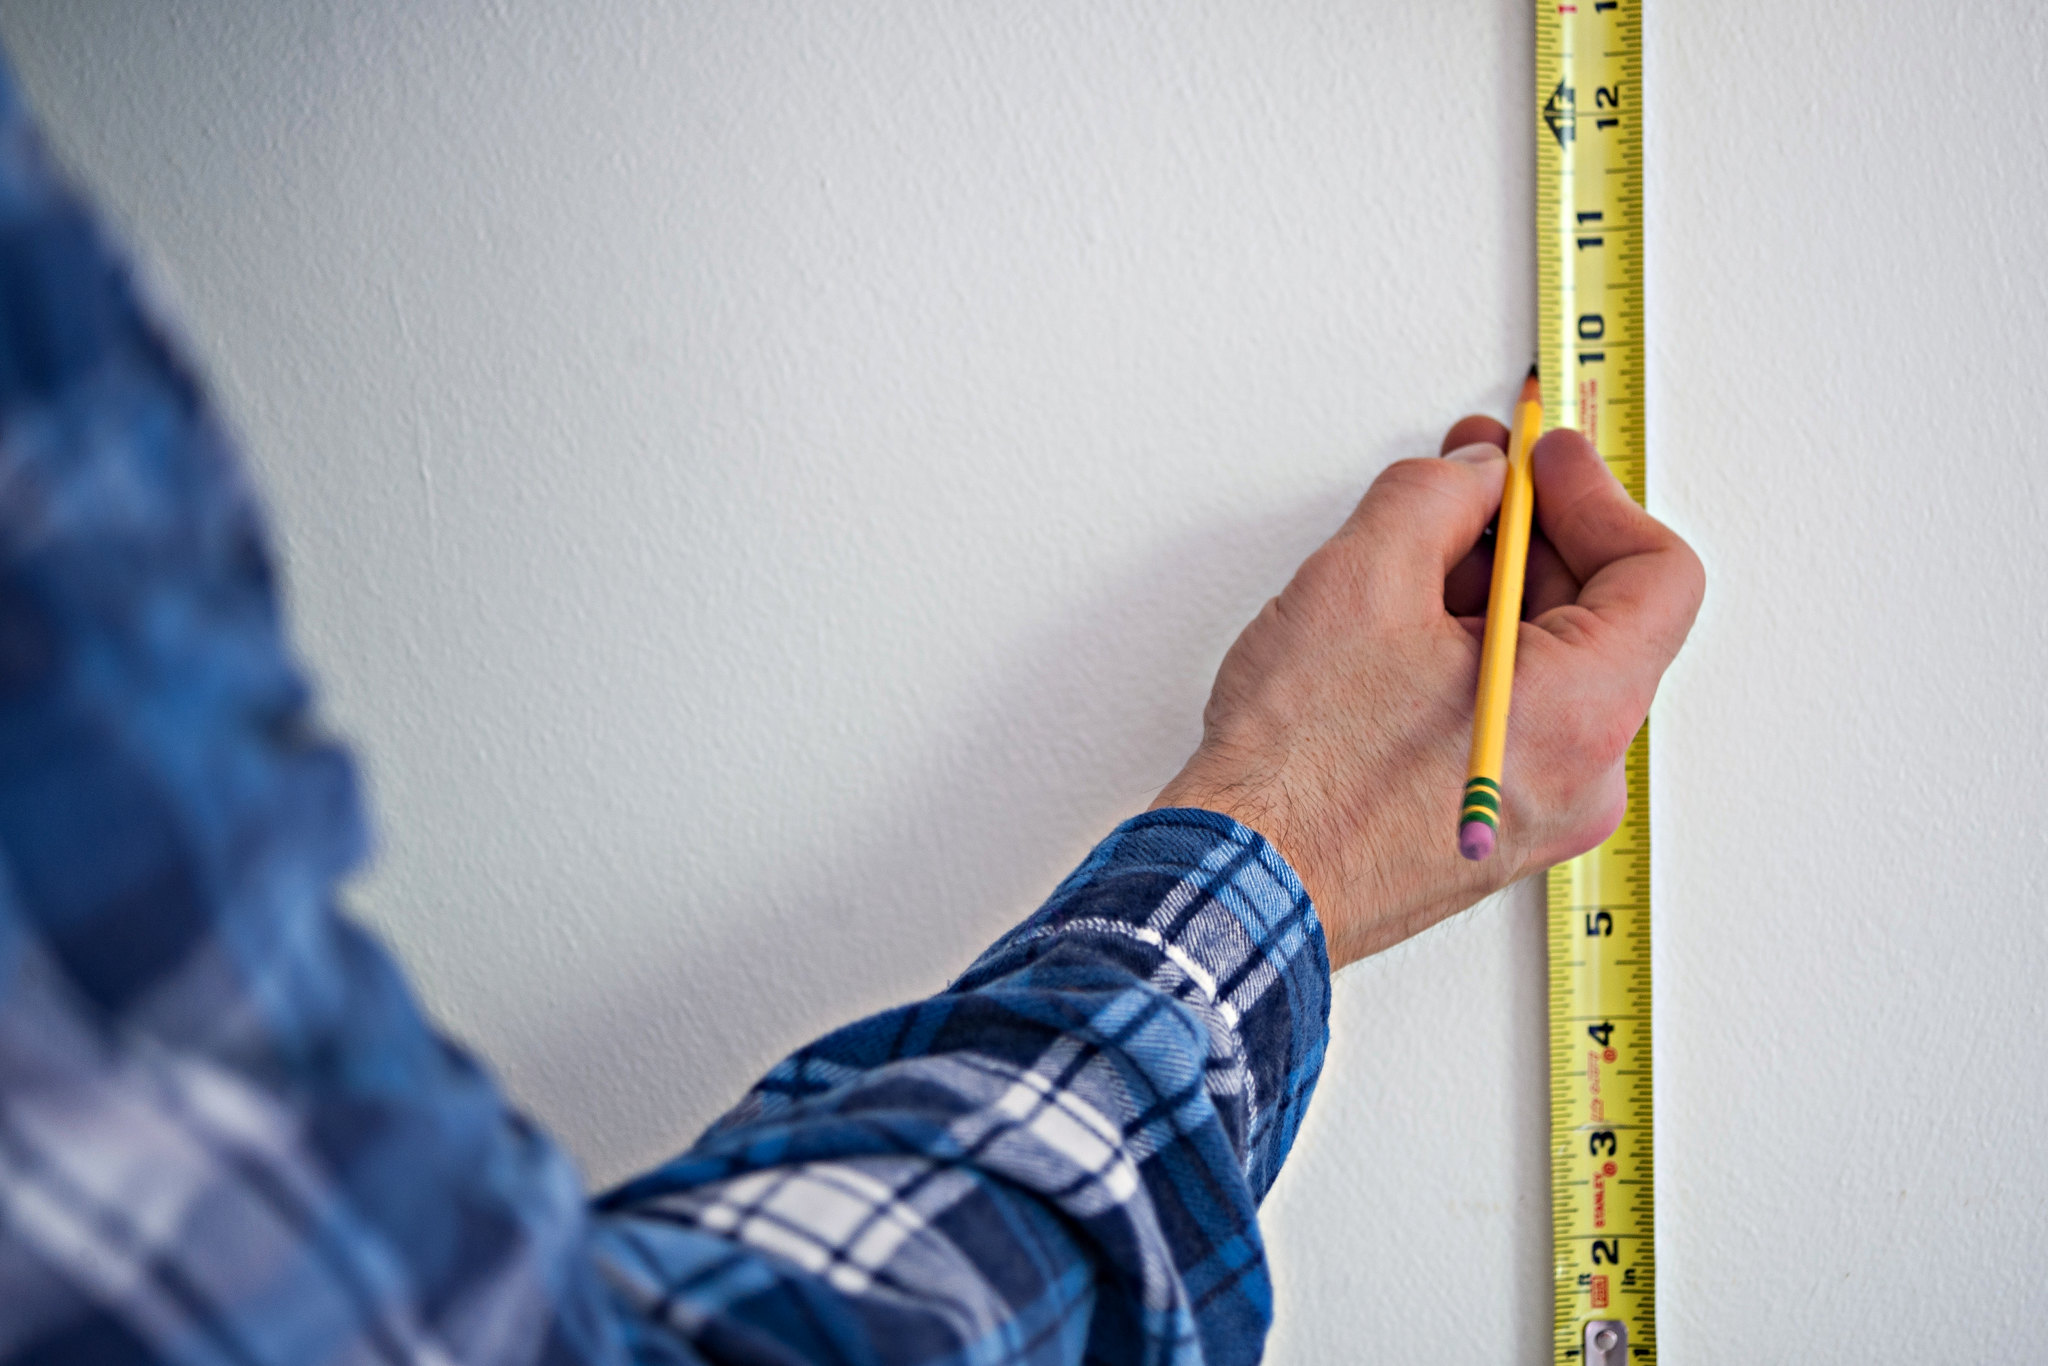
If your surfaces are covered in drywall, that’s not a problem. You will just need to locate the hidden studs with your stud finder. (Slatwall panels can also be attached to concrete walls; you would just need to first attach furring strips.) Once you have decided where your installation area is going to be, use your level to mark where the top corners will be screwed to the studs. Always screw in the top corners first.
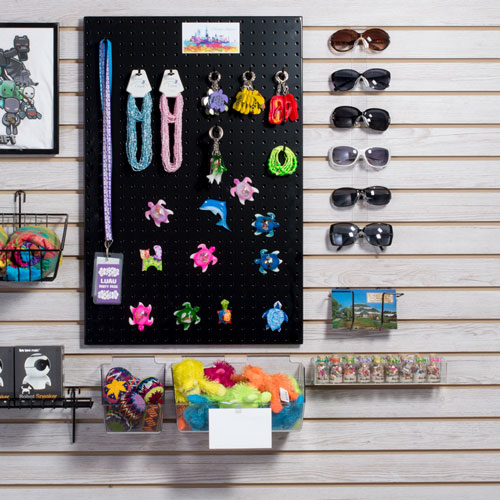
How to Install Slatwall Panels
After marking where your baseline is or where subsequent panels will be, you may need to trim a panel. When you cut panels down to size, cut them face down unless you are cutting with a table saw. To keep the panels and studs from splitting, predrill holes for the screws. Only put screws through every other grove in the panel; do not put screws through the slats. Make sure to use screws 1⅟₂” to 2″ long. Those packaged with your panels will probably suffice. (Some people who will be hanging heavy objects from the slatwall panel choose to add a construction adhesive to the backside of the panel so that a more secure bond with the wall is made.) You’ll repeat this process until you have attached all of your panels to the wall.
 Be sure to carefully follow the instructions that come with your slatwall panel. You will be surprised to see how quick and easy it is to organize your space with slat wall panels!
If you are interested in Slatwall panels for your retail store, shop our website, Specialty Store Services. We have everything you need to be a profitable retailer. If you have a question that you would like answered immediately, you can phone us at 800-999-0771.